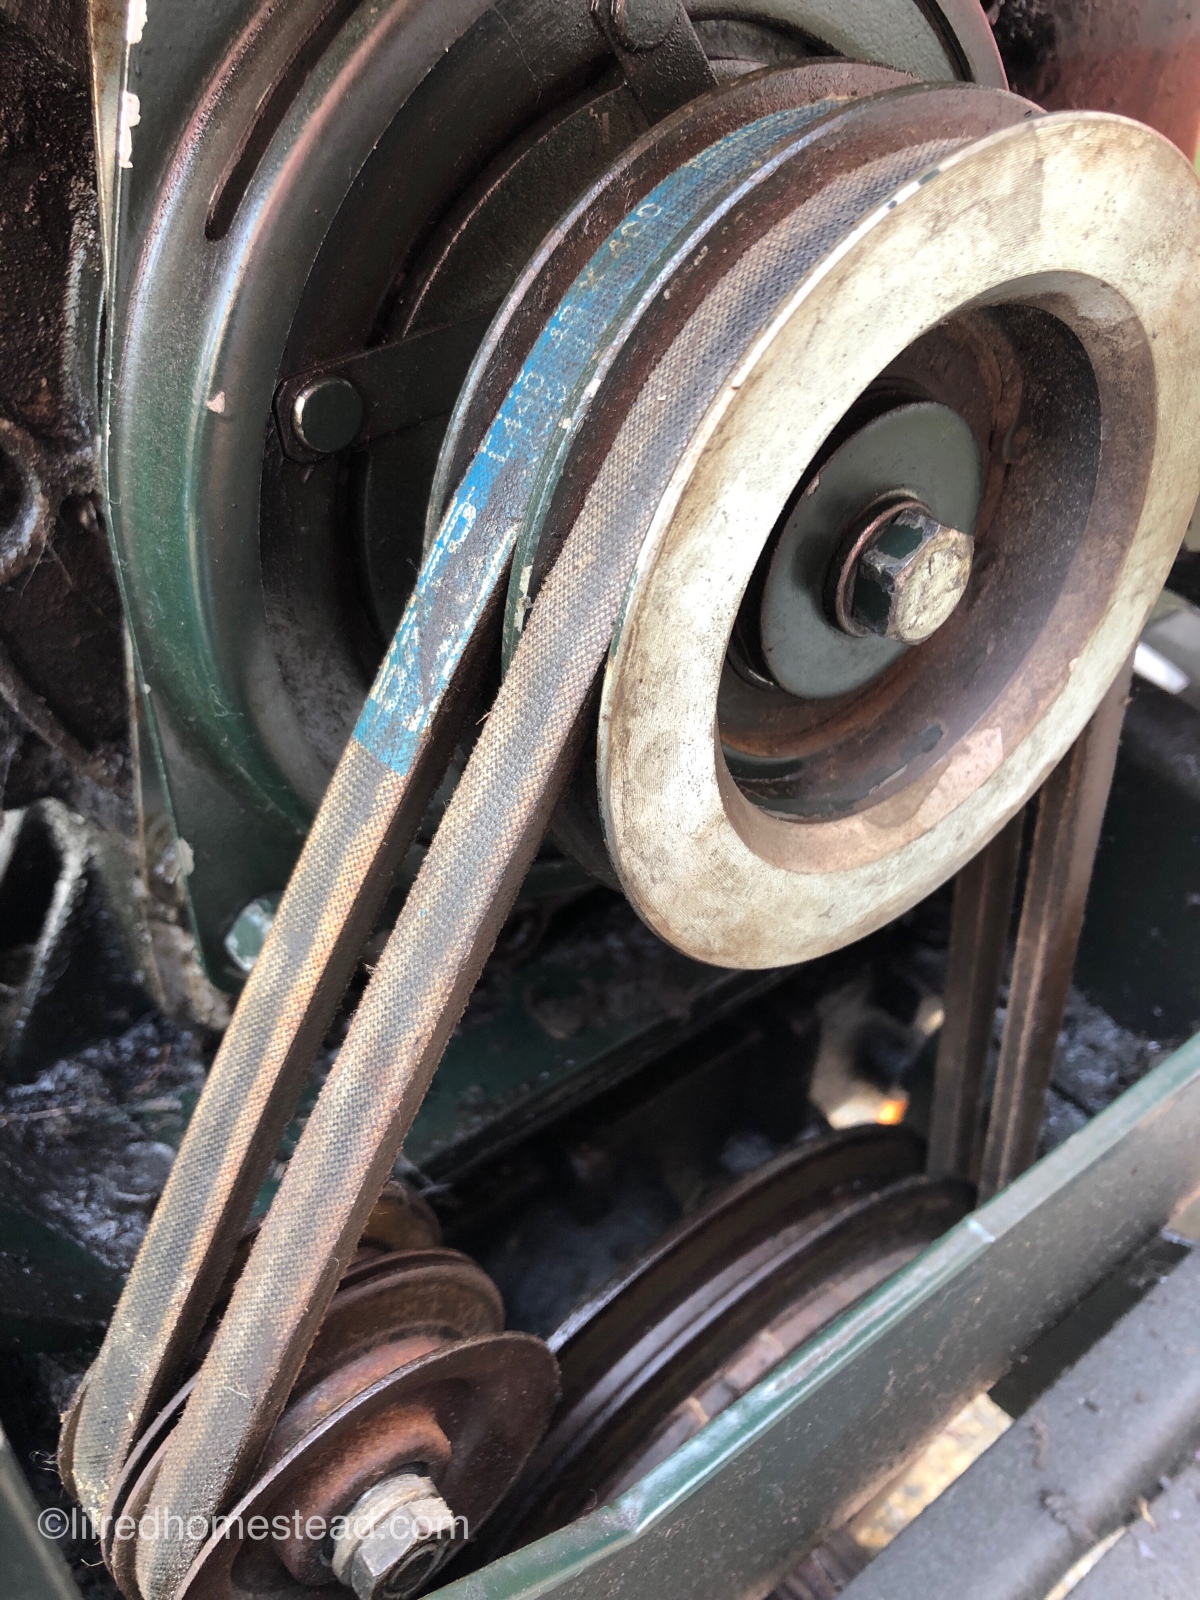
Good morning awesome readers! Today’s top task is getting the new front seal into the tractor. Yesterday I stripped the hood and grill from the monster. I am a bit concerned this was the easiest part. To get to the seal I have to strip off some more shrouds, a belt, a pulley, and a clutch.

The failing seal lives behind that pulley, and the clutch behind that.
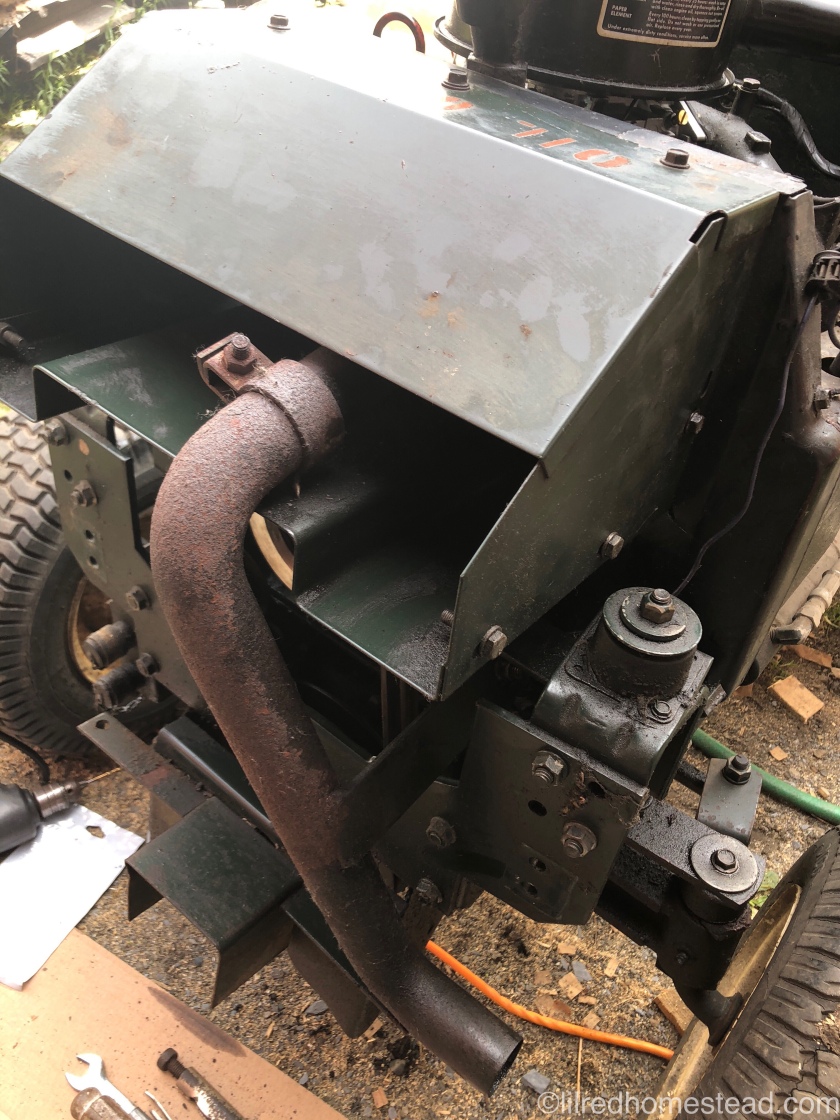
The first stop on this journey is the exhaust cowl and extension. 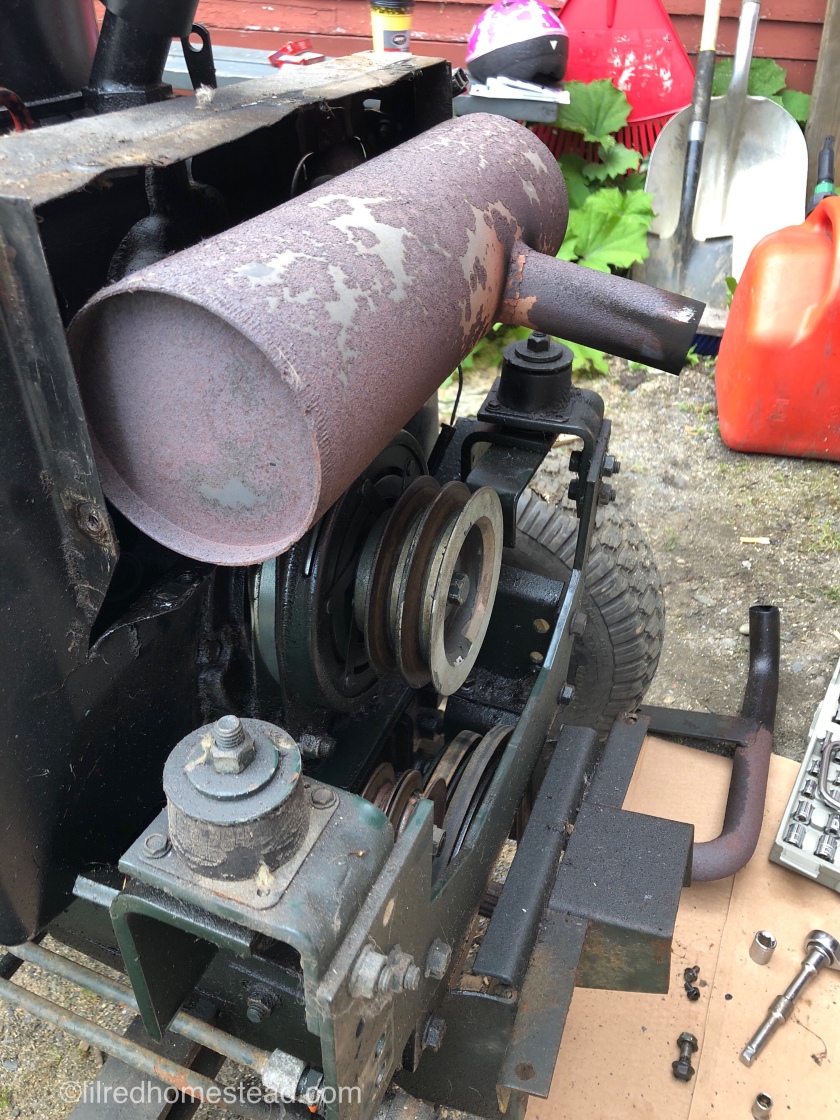
This tractor has more cowls and shrouds than a brand new car. It’s a little bit absurd to be honest. With the exhaust cowl and extension out of the way I can reach the pulley system. A screwdriver is used on the tensioner to remove the belts. What I am left with is one connection to the motor itself to disconnect, and the clutch.
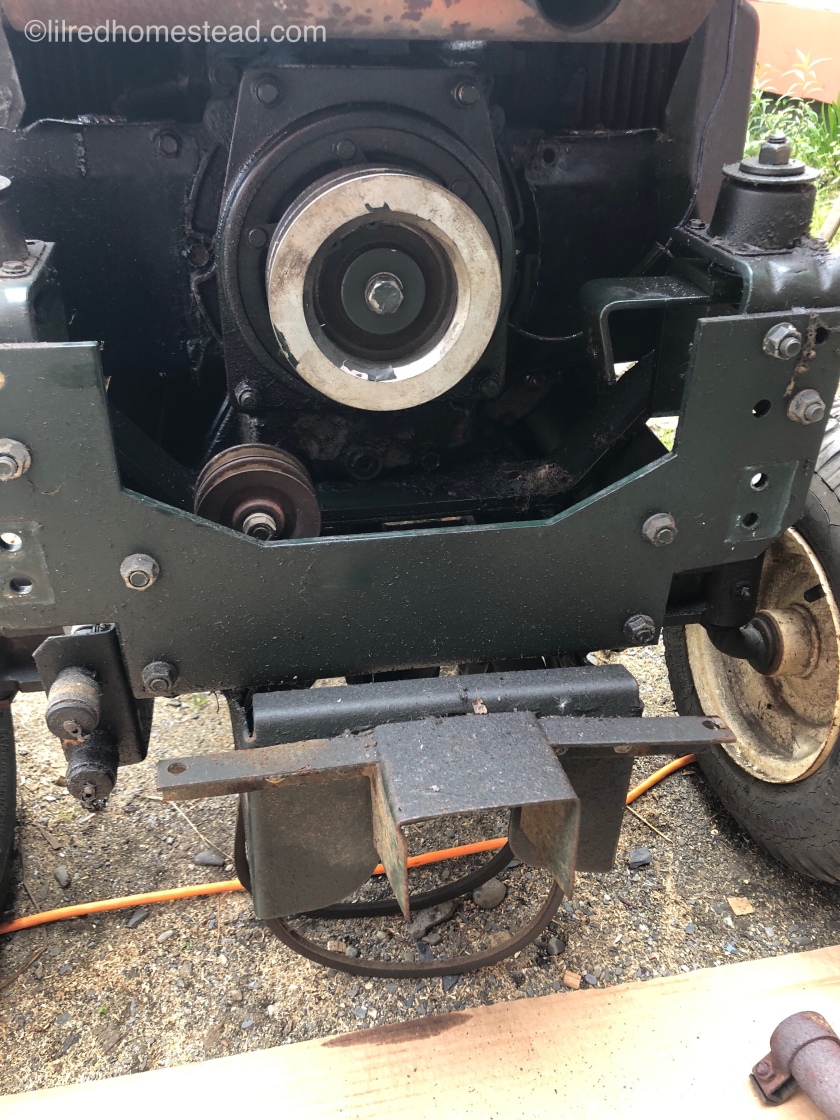
My apologies for the lack of pictures in here. I am coated in so much oil I doubt I could hold the camera at this point. The center bolt pictured links to the driveshaft. By putting a screwdriver into the u-joint on the other end of the motor I overcame the spinning.
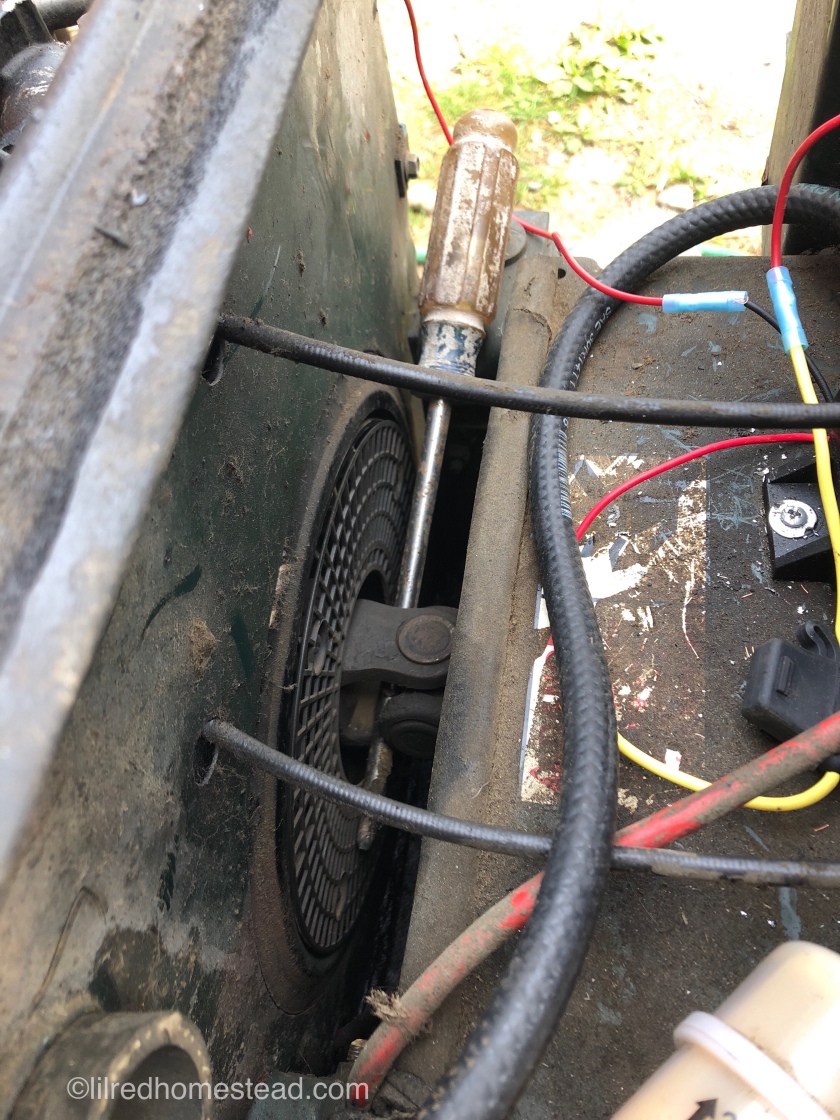
It is very important to note at this point that the battery IS TO BE DISCONNECTED. You really don’t want this thing kicking over while hooked to a ratchet that is hooked to you. Unless you like ER waiting rooms.
After this bolt we begin removing the pulleys and the clutch. After the clutch is off you should be left with a pile of parts that looks something like this, and one killer game of memory.

At last we can see our prize. The failing seal is within our grasp. Except it’s wedged into a little tiny hole, and we have sausages for fingers.

To overcome this we are going to place a screw into the seal to extract it. This is accomplished by CAREFULLY drilling a small hole in the old seal and putting in a screw. This step will produce metal shavings. Be very careful to clear them out.

With a little twist, and a light pull the old seal comes out. This explains why it was leaking. Next the new seal is carefully tapped in. A piece of pipe works well to keep it even. But in a bind an empty socket driver will do. The trick is light taps and keep the driver moving around.

With the new seal in place a bead of high temp gasket silicone is used to ensure a seal for a long time.

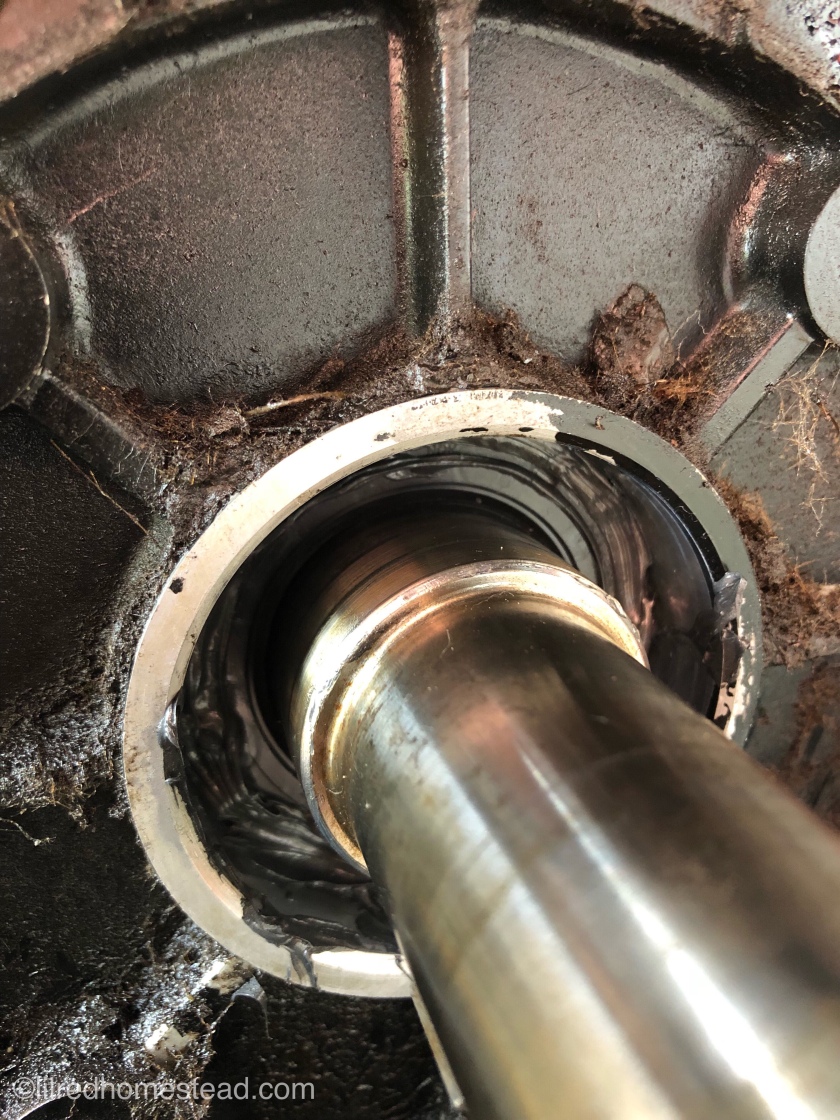
Now the tractor is out of service for 24 hours while the silicone sets up, and I have an epic game of memory to play. I can also get some pictures of reassembly since I’m wiping off parts as I go.
The back clutch plate has studs that go into the engine block. It is critical that these get cleaned well before being put back, if you ever want to get them back out.
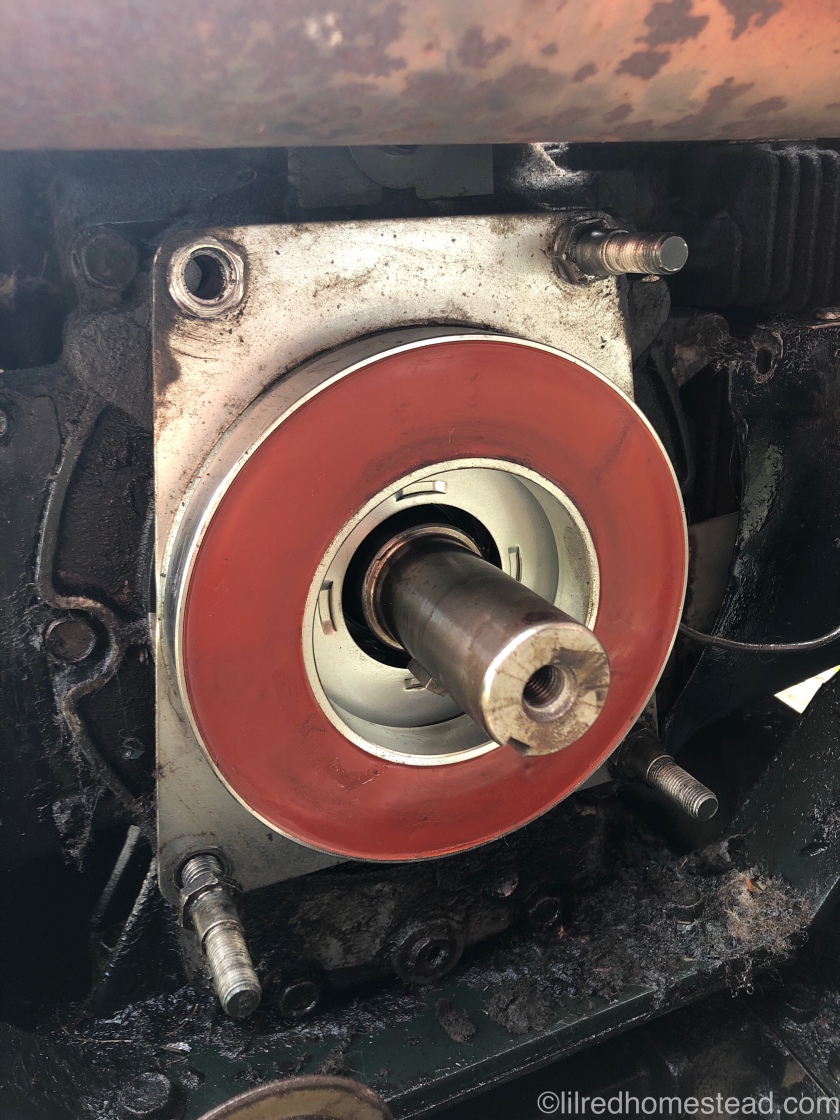
Once the studs are tightened back in the pulleys can go back on, being careful not to lose the key in the key way.
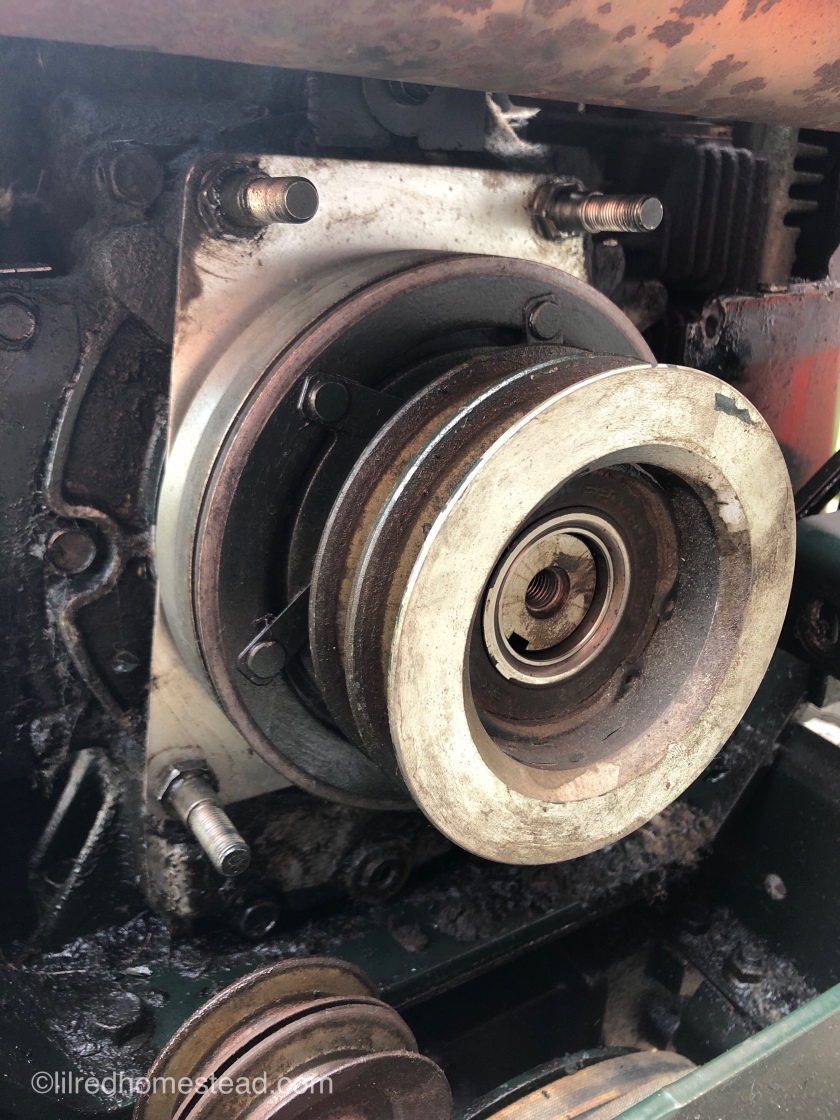
Then we replace the shaft bolt at the end. For this reverse the location of the screwdriver, and for heavens sake take it out as soon as the bolt is tight. Then it’s off to the spring loaded cover. These are lock nuts so they hold themselves. We don’t need to wrench this one down super tight.
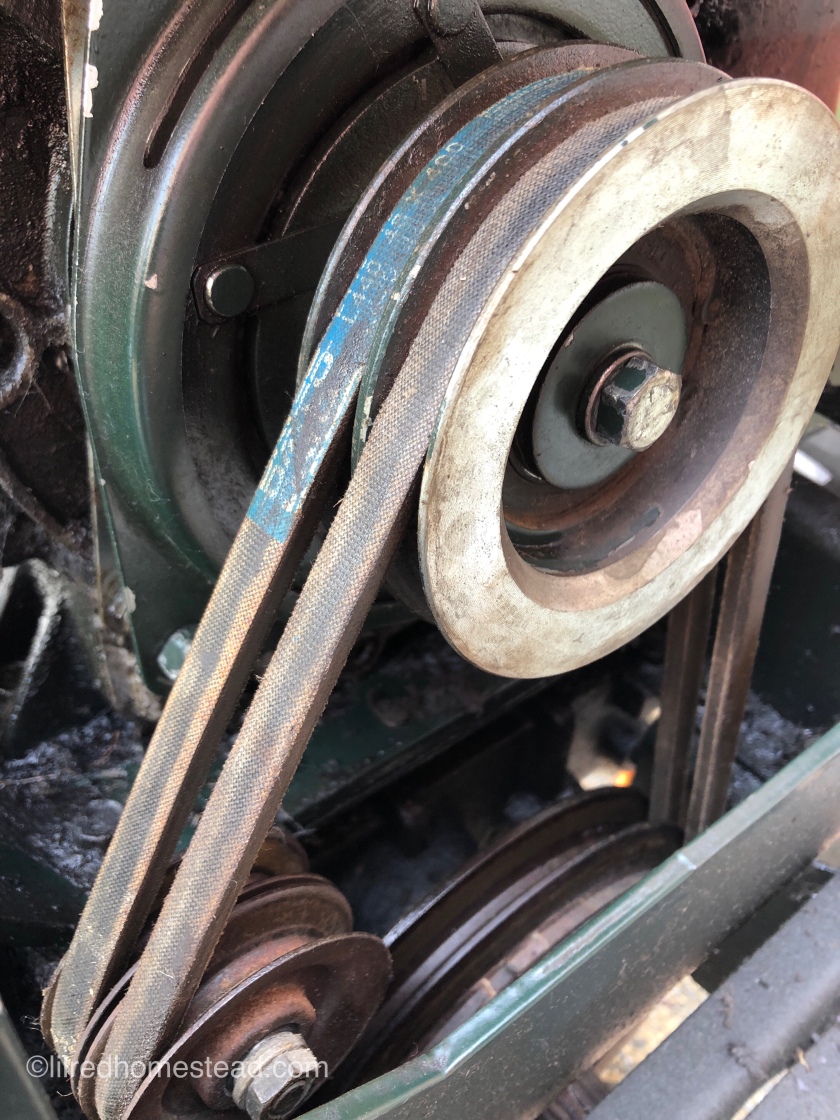
Once that is on we replace the belts, and exhaust cowl and we’re back where we started. No parts left over. No tools left in.
Now we wait 24 hours while the silicone sets, top up he oil, and it’s a brand new tractor once more.
Until next time…

