Weather be damned!

Good morning awesome readers! It is currently cold and snowy again. And we here on the homestead have frankly had enough of mother nature’s crap. She can be soo moody sometimes.

If you remember this guy from yesterday and the complex bit of science we did. Today that got put to use. Albeit slightly different than I had planned. Instead of a thermostat I’ve had to go with a timer based on the cycle time discovered yesterday. It’s not pretty, but it’s workable.

The day began with getting the trays filled while watching what the timer did with the heater. It works, but with the minimum on time of 15 minutes the temperature swings between 85-50 during the cycle. I have a more complex digital timer but I simply don’t trust myself to set it right. Lucky for me clothes come off and on easy enough. Both the high and the low are within the range to bring up seeds so why overcomplicate it.

On the agenda today are all the zucchini and summer squash for sale this year, and some nice flowers for hanging baskets.

In all nearly 300 more plants started, and probably another 200 remaining before I’m ready to call the variety good. Today has been a very good day.

While I wrote this. The first of a few loads of mulch arrived. Good looking stuff!

Now I’ve got to get it where it’s needed, and there will be no weeds this summer and better soil quality.

Until next time…

A Tuesday surprise and Wednesday fun.

Good morning readers! It’s Tuesday once more. I woke up to a lovely surprise. The first of the tomatoes have started poking up!

The time is now here to get the work area set up in the greenhouse.

The first item to get setup is the container for growing medium. In previous seasons this was under the bench, creating a back breaking ordeal to get it where it was needed. This year it will have a devoted space, at waist level. This will be much nicer.

With the medium box in place it’s off to the work benches.

Space is at a premium for the volume that I want to do. That being the case, every inch is sacred and will be used.

With both benches installed the plan is to make trays to bridge the walk way when not in use. This will allow that space to not be wasted.

The next step is to install the tops. The tops will eventually be hardware cloth to allow drainage through, but for now will likely be mere plywood and what is on hand.

Until next time…

Work continues on the greenhouse…

Good morning awesome readers! Today we pick up where we left off on the greenhouse yesterday. The old skin has to come off and new must go on.

With the skin off I’m officially on the clock to complete this. Rain is on the way all next week so time is of the essence.

First up is to get the remaining two top supports in. I am lacking twelve foot boards so I will have to fabricate one. The process starts with what I have. Two ten foot boards. Each cut at six feet and joined with a plate made from a smaller scrap of wood.

Each end of the scrap is fastened by five long screws to hold it in place. The scrap is centered, and attached.

Both of the fabricated twelve foot boards are the. Attached to the frame over the upright beams. And the ends are cut flush.

Next it is off to the ribs. My goal is to make the outer side of the roof as smooth as possible to avoid ripping the plastic once installed.

Angles will be found, and ribs attached. After a fair amount of math and a little “winging” it. The ribs are up!

Next up is sanding everything to make sure the plastic doesn’t get ripped, and then it’s off to the covering.

All joints and corners need to be ground down.

It’s time consuming but will extend the life of the plastic.

Here we are again at the end of the day. The frame is set, sanded, and some plastic is up. It looks a little rough but there is no doubt it will stand for years.

Time to relax, and get ready to pick it up tomorrow.

Until next time…

Indoor work and preparing to start seeds

Good morning awesome readers! It’s a rainy cold day today. Not a good time to be running power tools. Today we work indoors close by the wood stove.

The goal today is to get the grow light we have installed and start getting some more plants up.

Before that can be done there has to be some re organization. As it happens sometimes, in order to do something new we must shuffle some things around to clear a new space.

What was an arts and crafts area will now be a place to start seeds, and propagate house plants for sale. The arts will be moving to the kids rooms. It is very likely I will regret that eventually, but time will tell.

Finally the corner is free. It’s time to hang this light and make some plants.

I’m thinking the anchors that I chose were not the best ones for the job. They are making a pretty good mess

at last the anchors are in, and the chain hung. The light is in place and it’s time to setup the timer, and I have no idea where it has gone.

With the addition of a simple timer we are on the way. Time to get some stuff growing!

Until next time…

Simple task Monday

Hey readers, today I’m cleaning up some simple things that need attention. First on the list is the ‘ole nitrogen harvester. The start cord broke yesterday while I was happily mowing away.

First up here is taking off the covers to get to the recoil housing.

Once those guards came off the project got kind of ugly. I had to take the whole top of the mower off to get at the recoil, and then fight for about fifteen minutes to get the spring to catch again.

These craftsman mowers are not built to be worked on that’s for sure.

There are a ton of loose pieces, all held by hat one small screw in the middle. In the end though I got it. And it runs like a charm now.

The down side though. I spent so much time fixing this I have run out of time for today.

Until next time…

A new seal for old leaky.

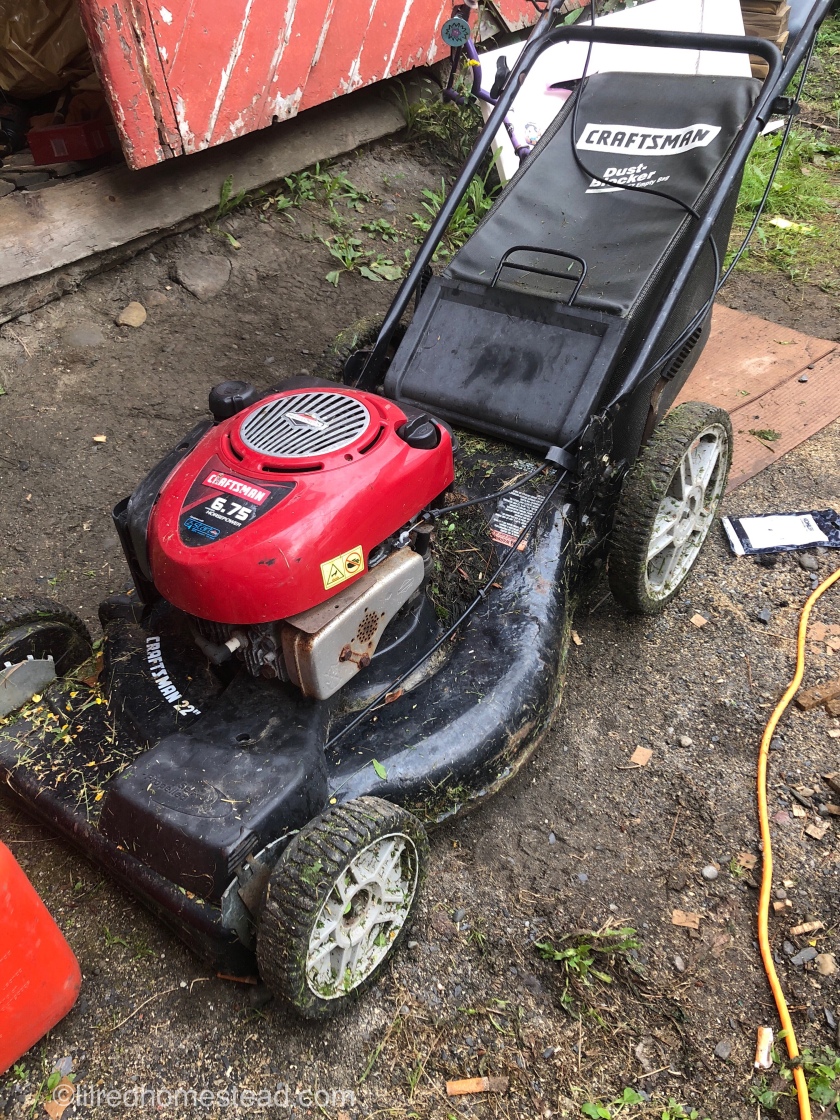
Good morning awesome readers! Today’s top task is getting the new front seal into the tractor. Yesterday I stripped the hood and grill from the monster. I am a bit concerned this was the easiest part. To get to the seal I have to strip off some more shrouds, a belt, a pulley, and a clutch.

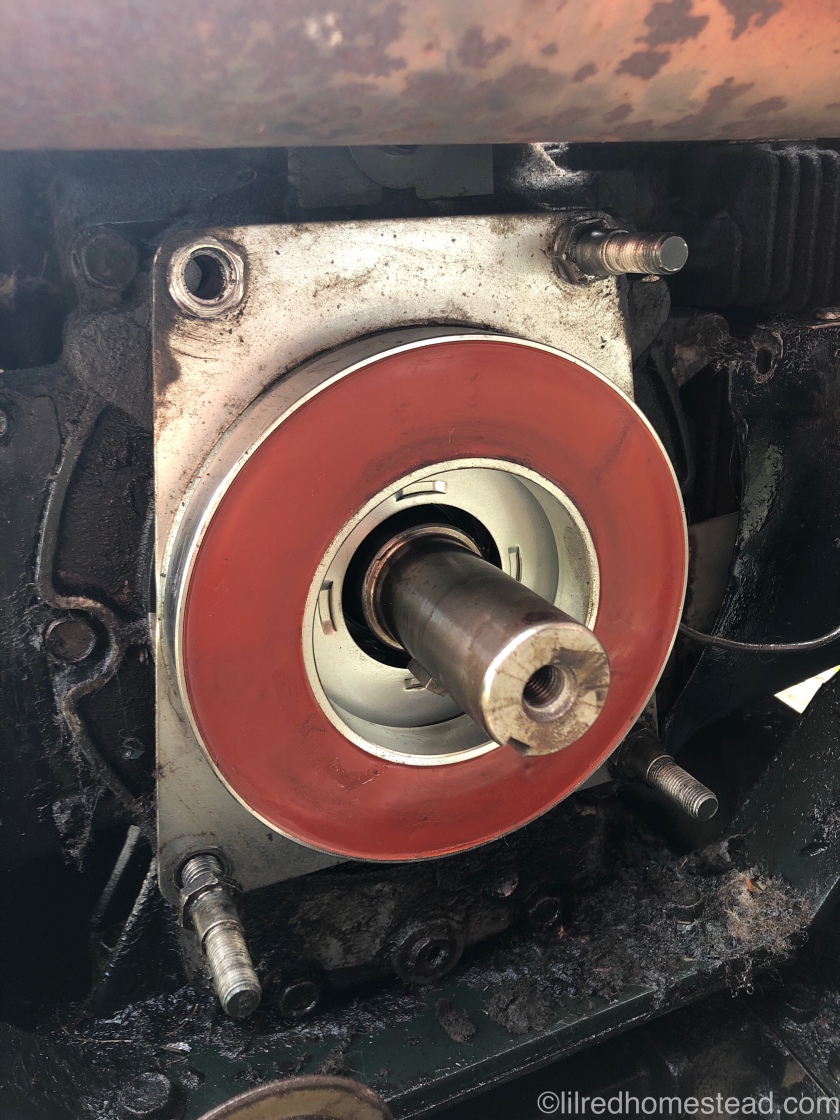
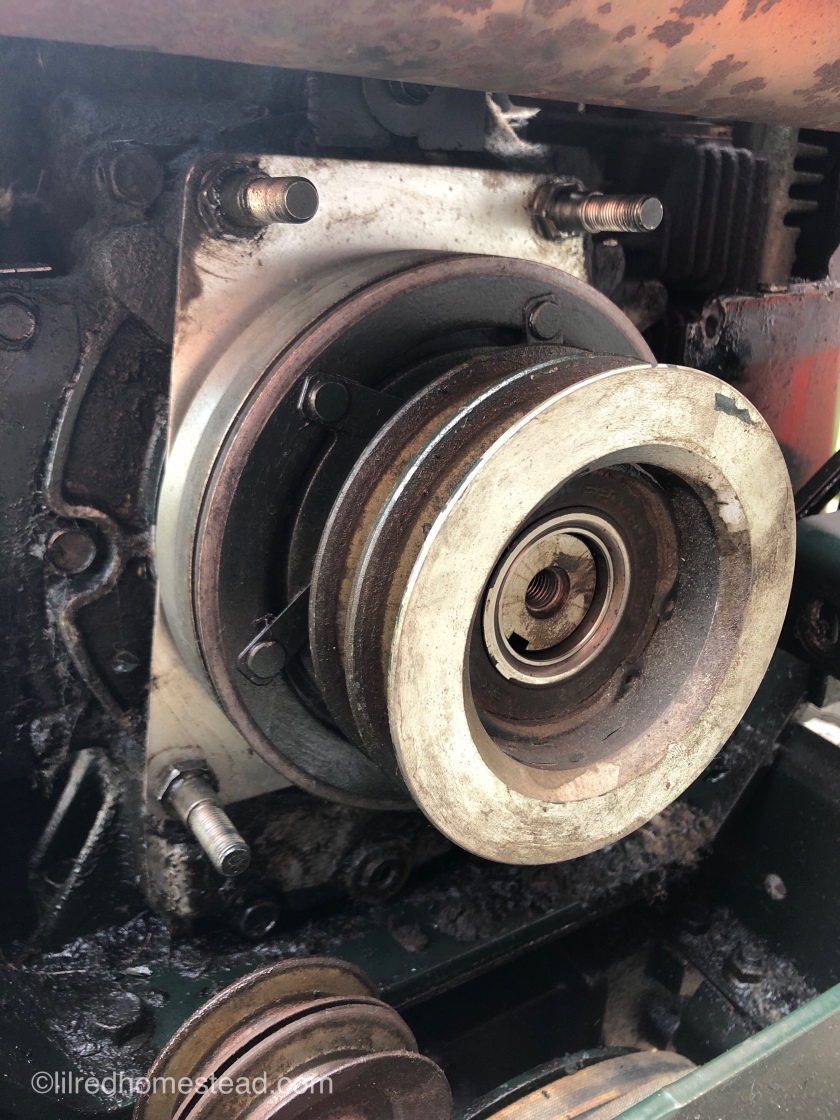
The failing seal lives behind that pulley, and the clutch behind that.

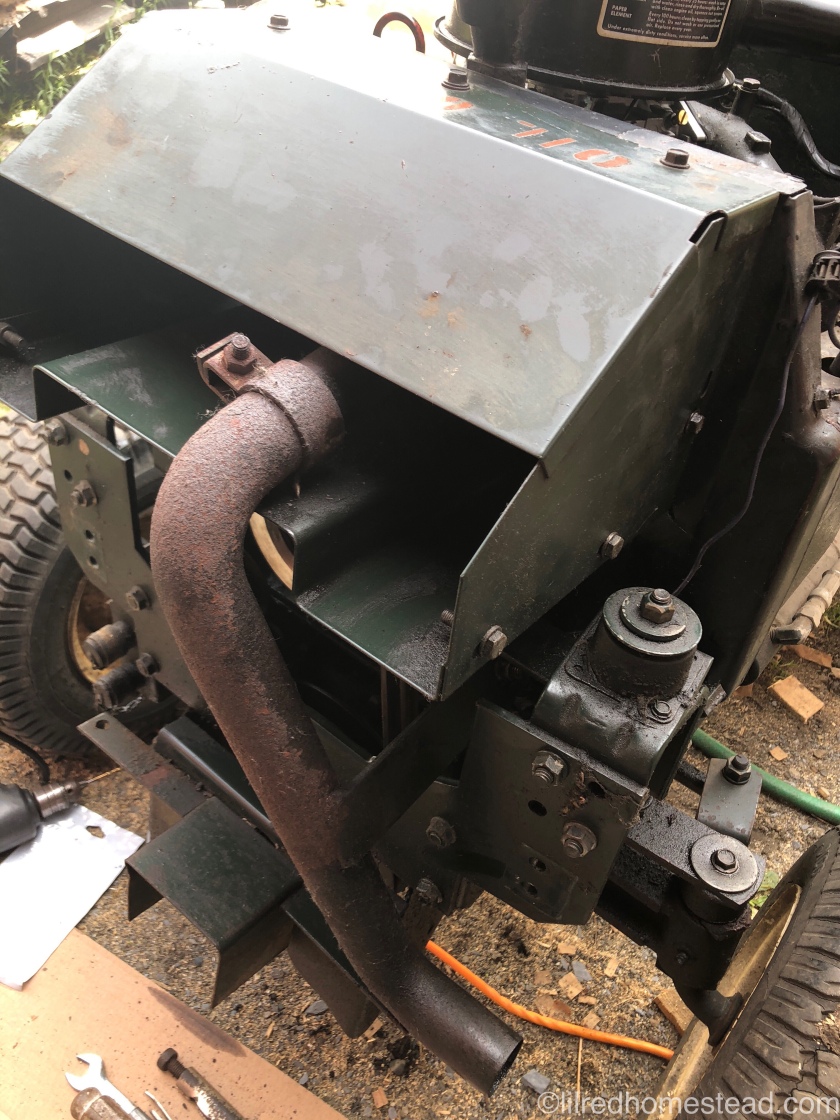
The first stop on this journey is the exhaust cowl and extension.

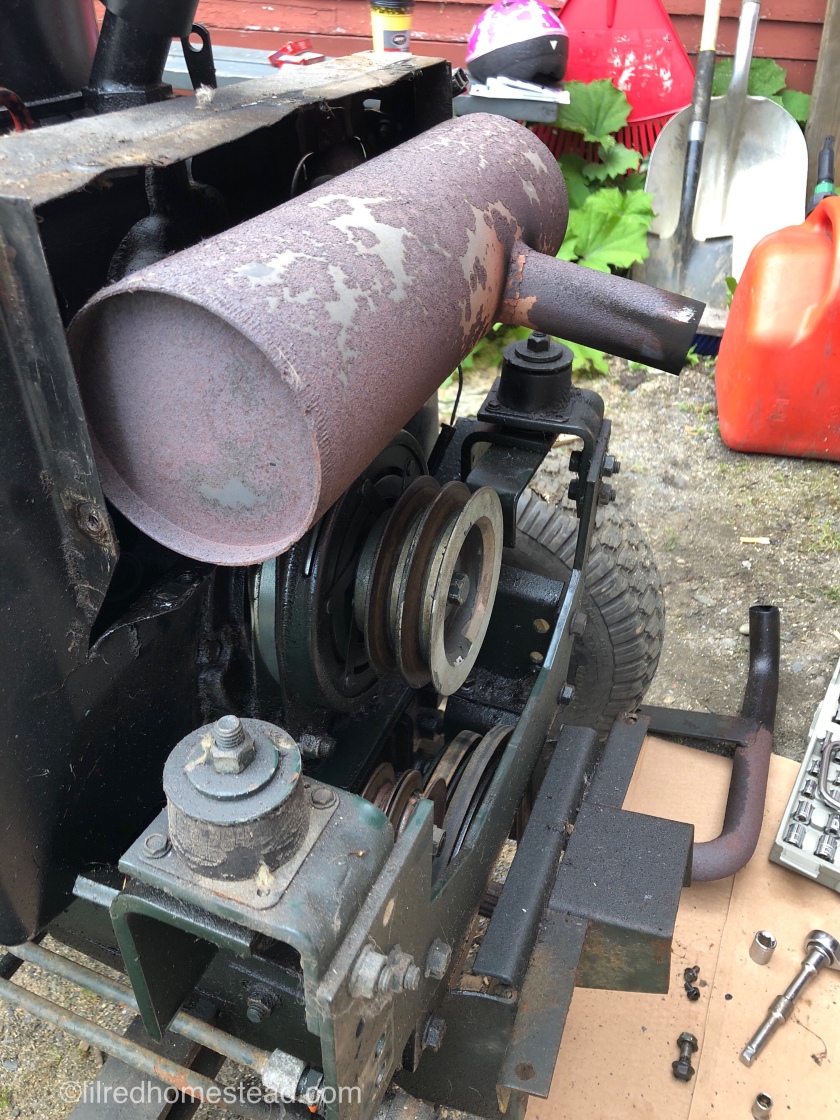
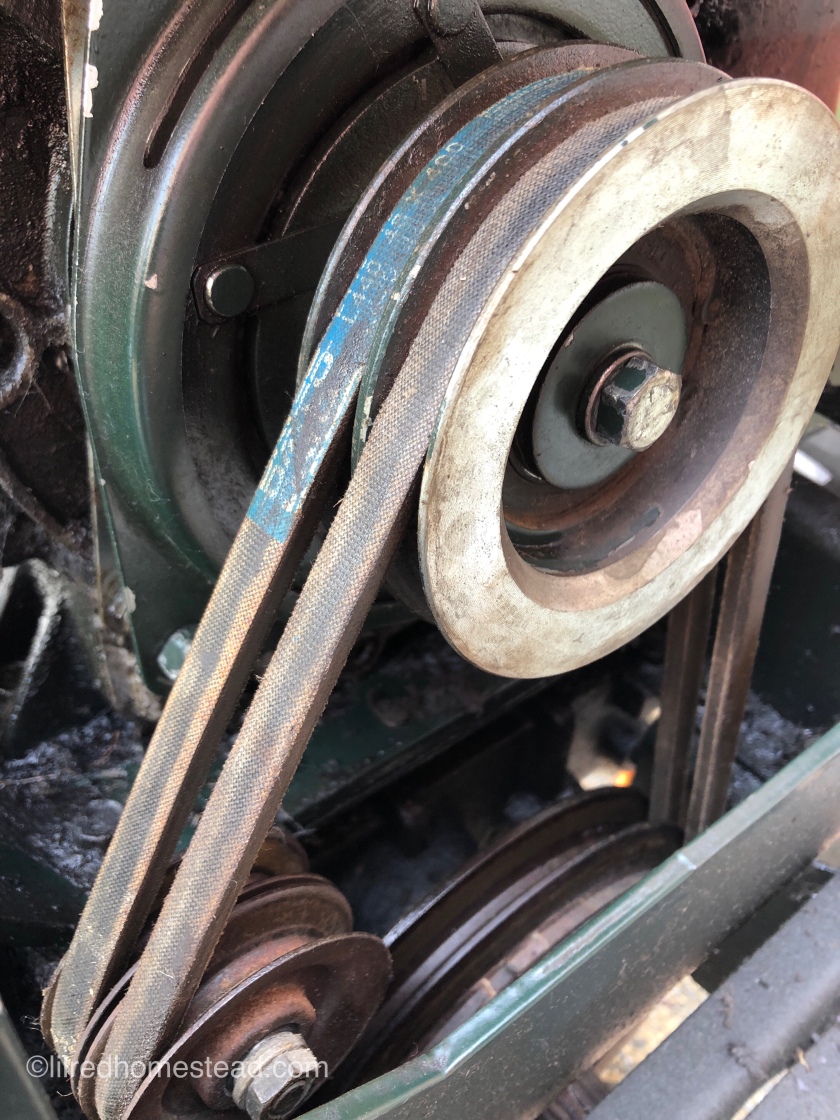
This tractor has more cowls and shrouds than a brand new car. It’s a little bit absurd to be honest. With the exhaust cowl and extension out of the way I can reach the pulley system. A screwdriver is used on the tensioner to remove the belts. What I am left with is one connection to the motor itself to disconnect, and the clutch.

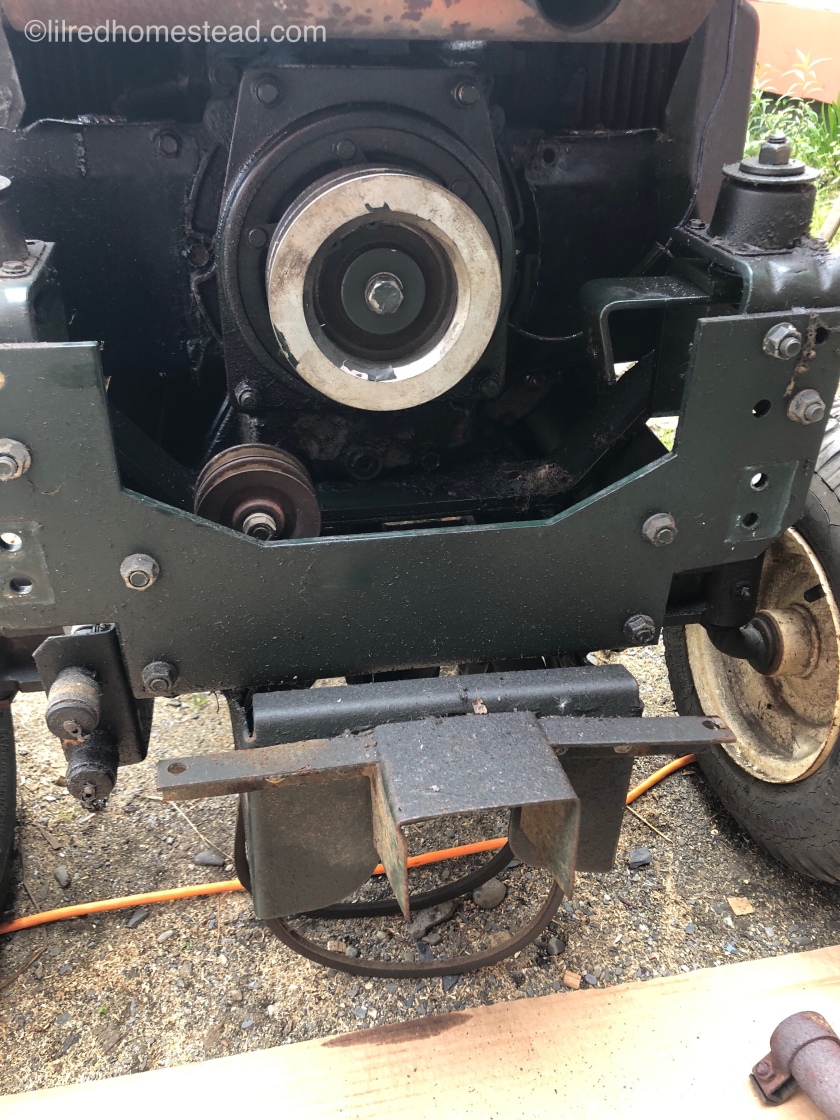
My apologies for the lack of pictures in here. I am coated in so much oil I doubt I could hold the camera at this point. The center bolt pictured links to the driveshaft. By putting a screwdriver into the u-joint on the other end of the motor I overcame the spinning.

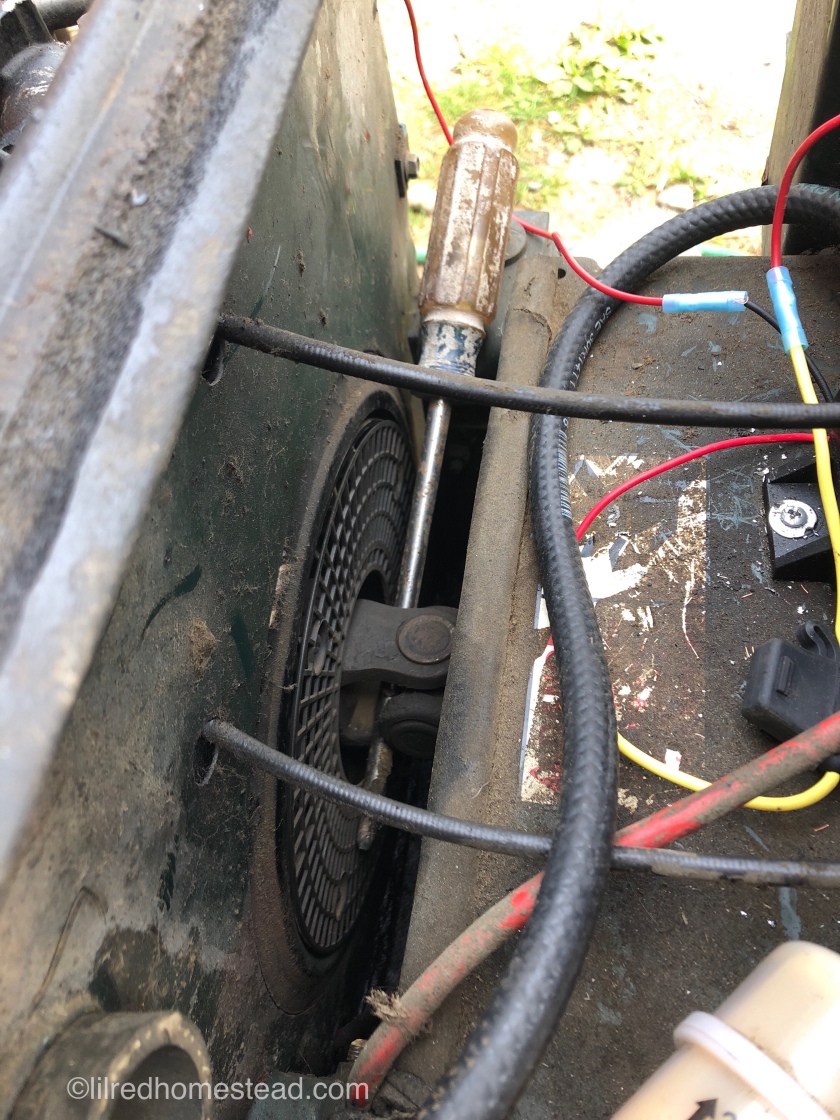
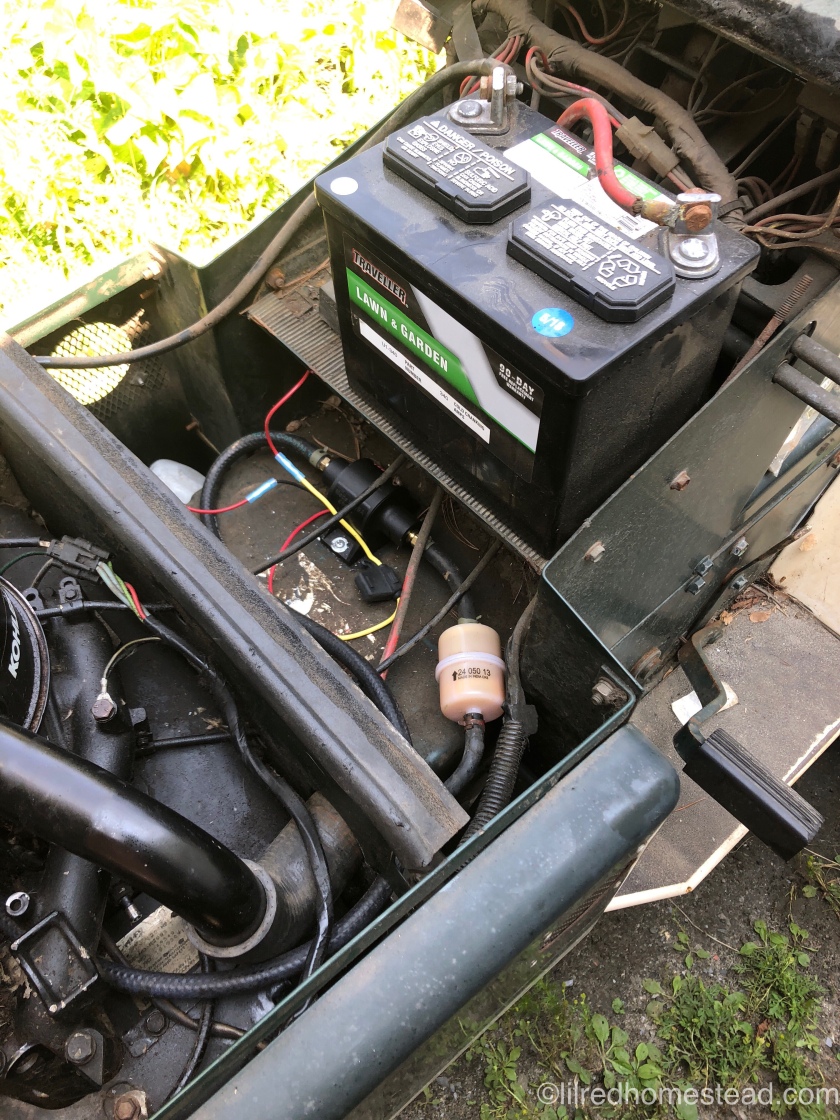
It is very important to note at this point that the battery IS TO BE DISCONNECTED. You really don’t want this thing kicking over while hooked to a ratchet that is hooked to you. Unless you like ER waiting rooms.

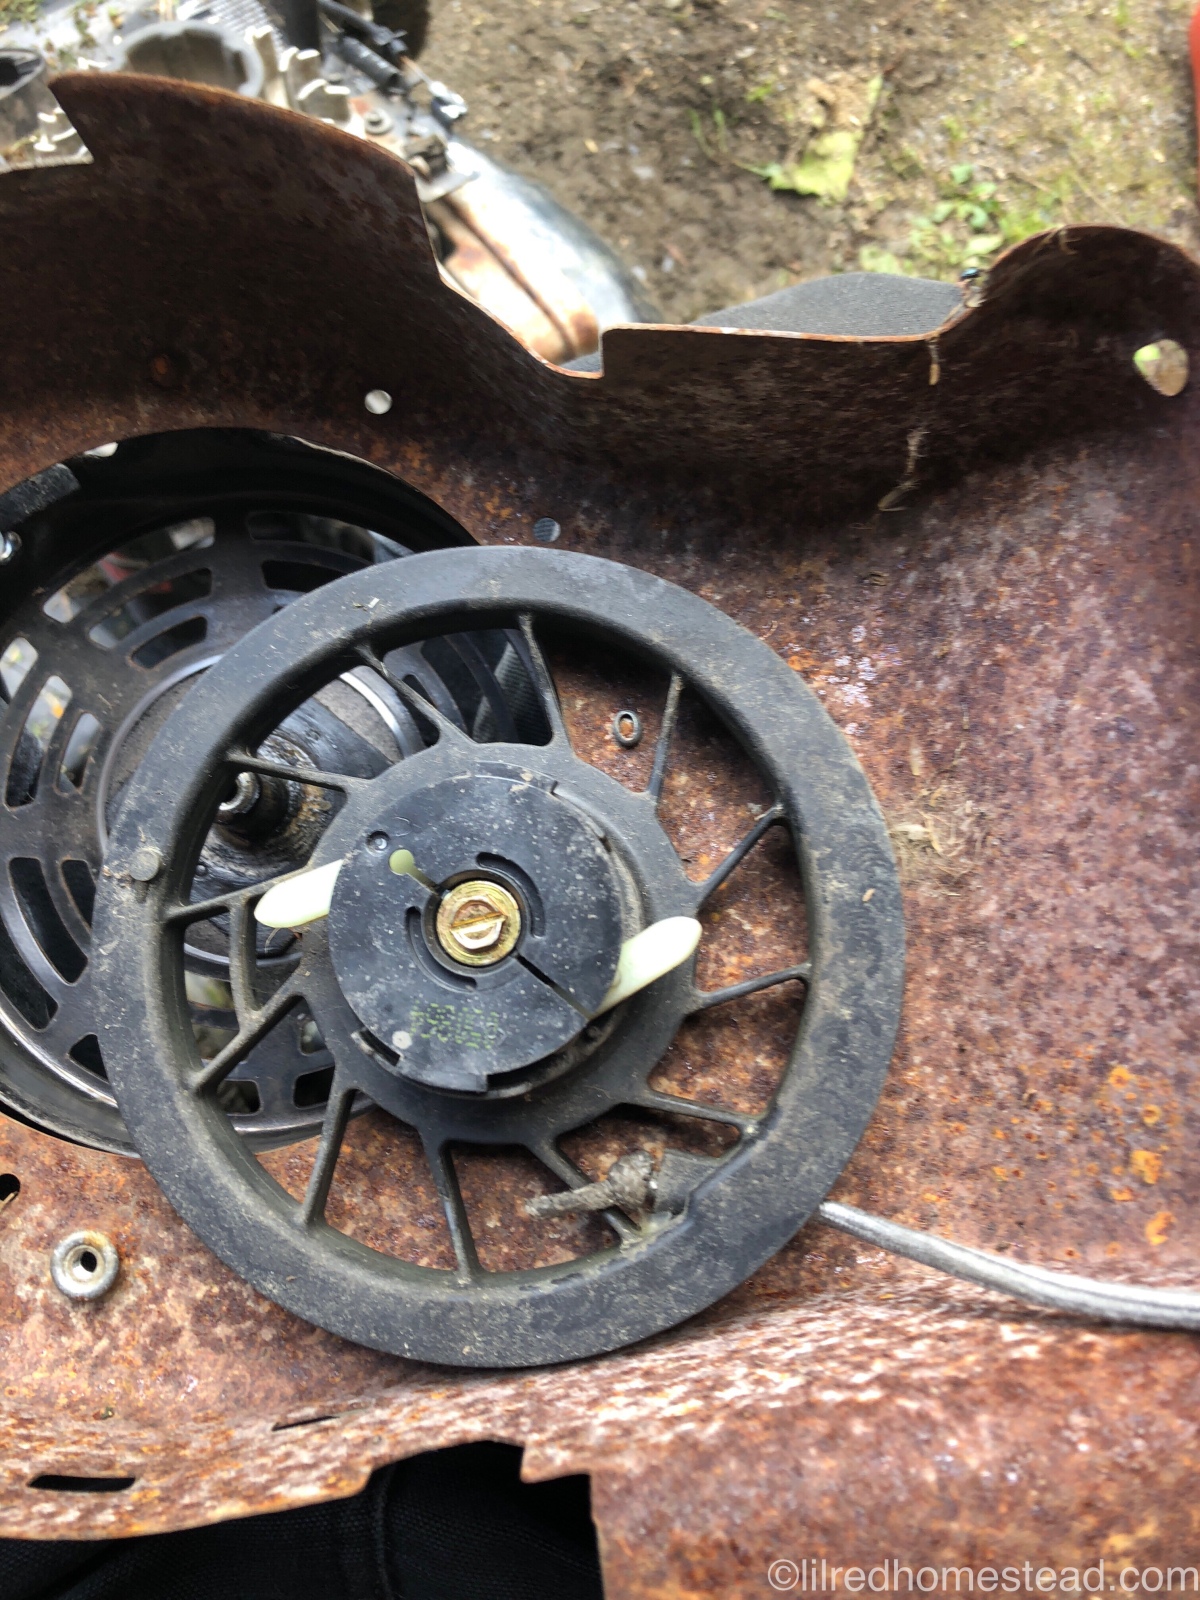
After this bolt we begin removing the pulleys and the clutch. After the clutch is off you should be left with a pile of parts that looks something like this, and one killer game of memory.

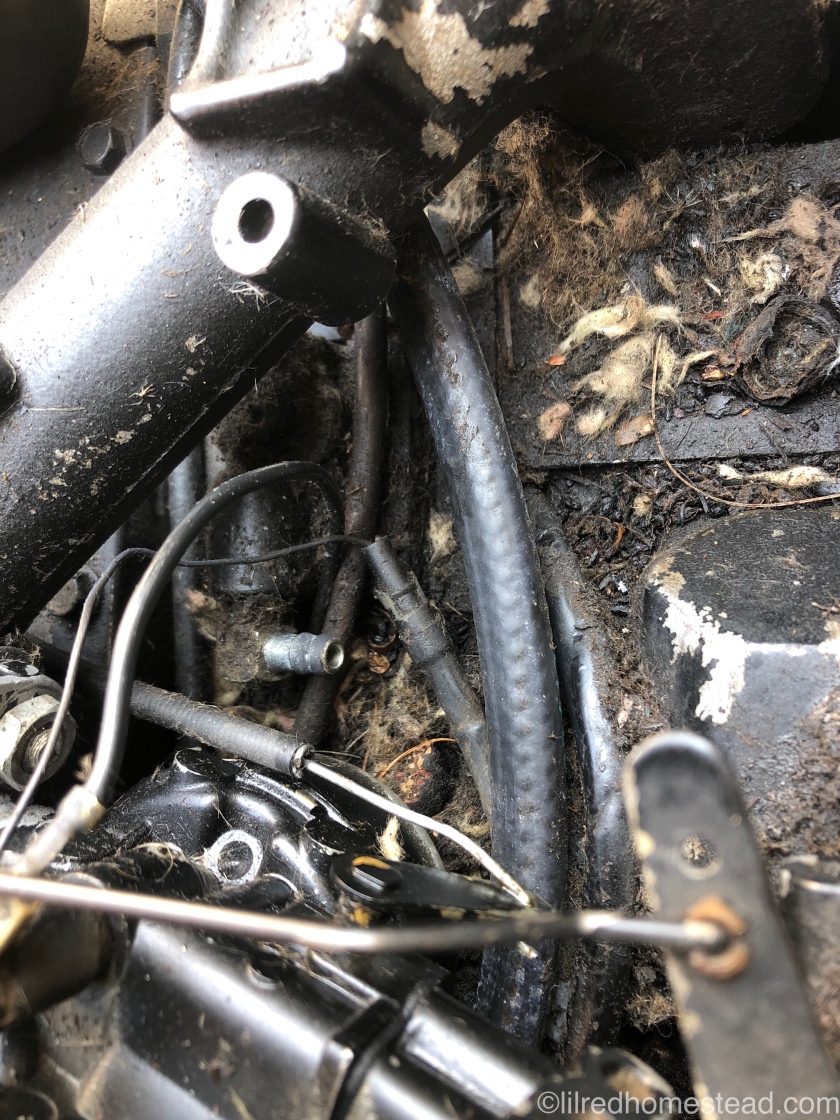
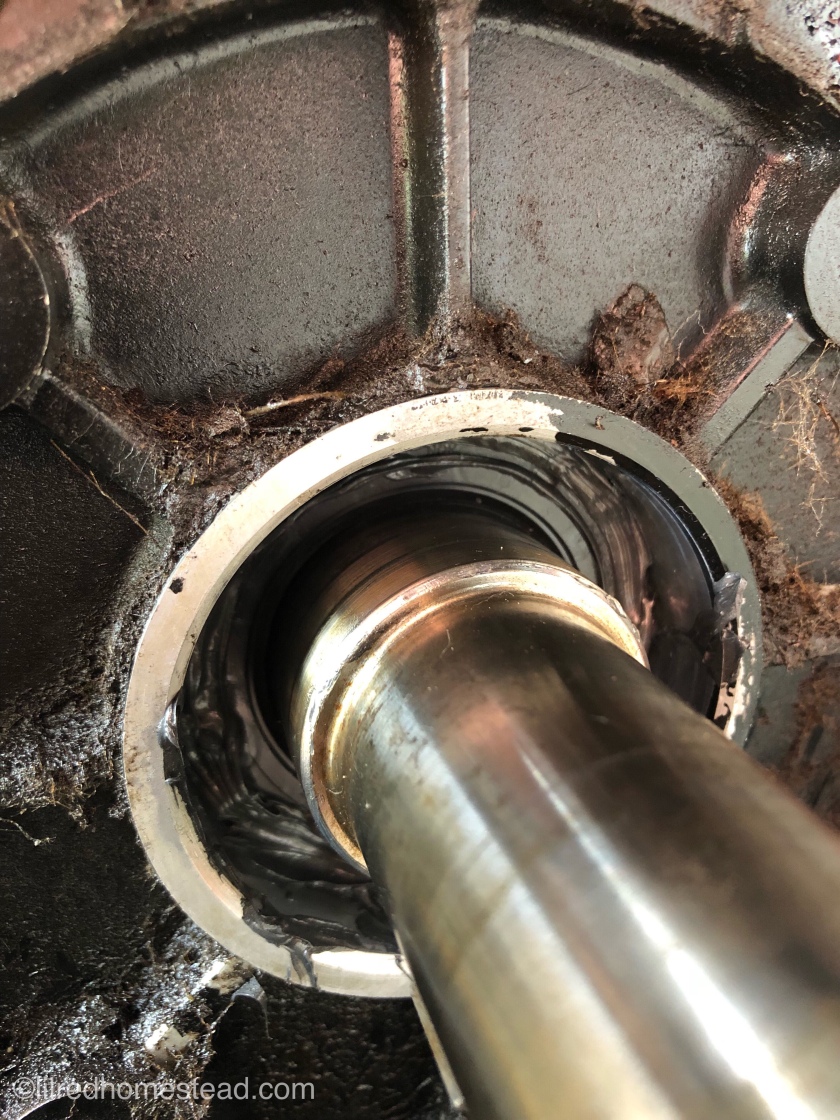
At last we can see our prize. The failing seal is within our grasp. Except it’s wedged into a little tiny hole, and we have sausages for fingers.

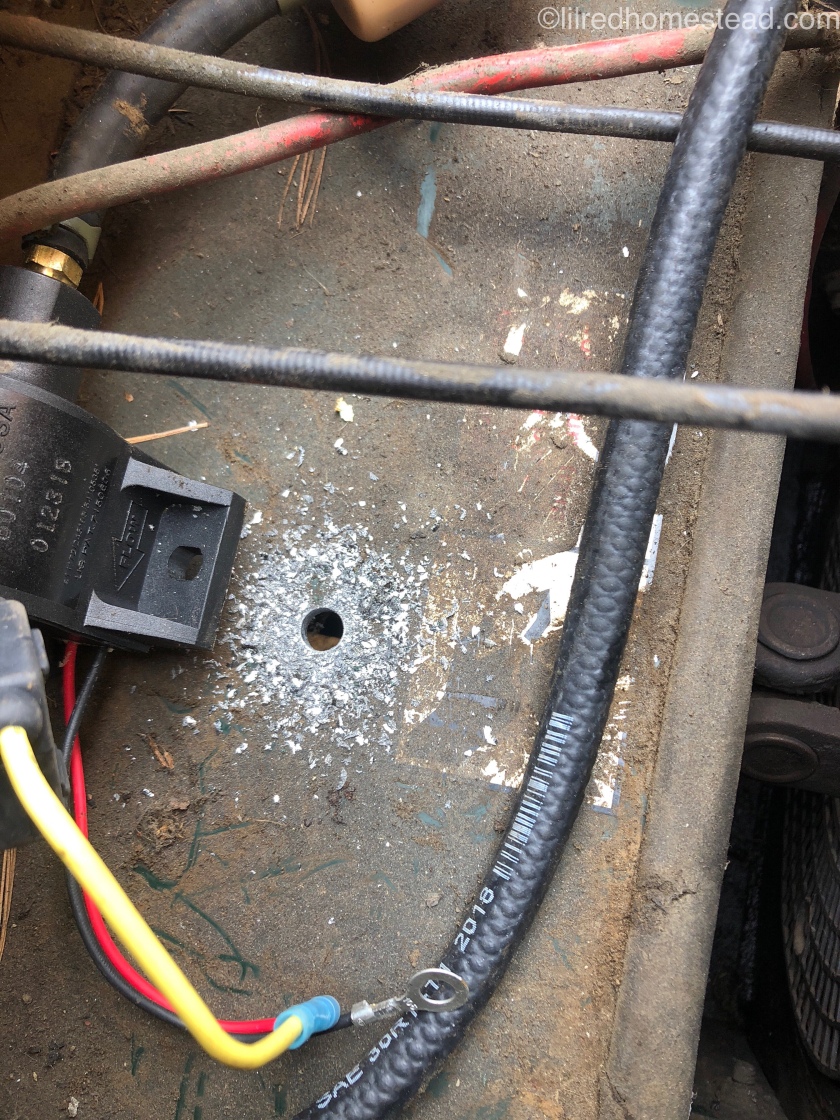
To overcome this we are going to place a screw into the seal to extract it. This is accomplished by CAREFULLY drilling a small hole in the old seal and putting in a screw. This step will produce metal shavings. Be very careful to clear them out.

With a little twist, and a light pull the old seal comes out. This explains why it was leaking. Next the new seal is carefully tapped in. A piece of pipe works well to keep it even. But in a bind an empty socket driver will do. The trick is light taps and keep the driver moving around.

With the new seal in place a bead of high temp gasket silicone is used to ensure a seal for a long time.

Now the tractor is out of service for 24 hours while the silicone sets up, and I have an epic game of memory to play. I can also get some pictures of reassembly since I’m wiping off parts as I go.

The back clutch plate has studs that go into the engine block. It is critical that these get cleaned well before being put back, if you ever want to get them back out.

Once the studs are tightened back in the pulleys can go back on, being careful not to lose the key in the key way.

Then we replace the shaft bolt at the end. For this reverse the location of the screwdriver, and for heavens sake take it out as soon as the bolt is tight. Then it’s off to the spring loaded cover. These are lock nuts so they hold themselves. We don’t need to wrench this one down super tight.

Once that is on we replace the belts, and exhaust cowl and we’re back where we started. No parts left over. No tools left in.

Now we wait 24 hours while the silicone sets, top up he oil, and it’s a brand new tractor once more.

Until next time…

A hopeful rehabilitation of an old tractor

Good morning readers! It’s Monday again, and we are back to the routine. Today’s mission is to get the tractor switched from the mechanical fuel pump that it has now, to an electric fuel pump. I am pretty sure the fuel pump is the culprit in this case, because the tractors bad behavior is dependent on the angle of the fuel tank relative to the engine. I think the old mechanical pump doesn’t have the gusto to pull fuel up to itself anymore.

Way too much money later, I have all the parts I need to make a big ‘ole mess of things. Time to head back to the ranch.

The first step is to find power that shits off with the key.

We are officially “under the knife now.

I’ve found the power line that I’m going to use, the next challenge is re routing fuel lines and placing the pump itself. I’ve gotten the pump hot wire hooked up. I’m going to extend the ground as well and ground it with the main battery.

The supply side of the fuel line is in place. Being very careful to make all the arrows go the same way is especially critical. I’ve also bypassed the old fuel pump, which will stay in place

The old pump should just sit there and move air from one side to the other poorly now.

Next up it’s time to mount the pump. Since it is more heat sensitive than the old pump I’m putting it behind the engine wall, on top of the tunnel.

I put a hole in the tunnel, and I think I killed my drill (a little smoke is good for them right?). Now I just need to bolt the pump in place and wire in the ground. In the absence of a big enough bolt I used a drywall anchor. Sometimes we gotta do what we gotta do.

Everything is in now, and she runs amazing… until she warms up. At least I know it’s not the fuel anymore. I think the issue is in the carb. If it’s not that ten I get to really dig in and change the charger on the flywheel. I really hope it’s the carb.

Until next time…

Odds and ends

Today I take up the mantle of the tailor, and mend up some pants, and an update on the spring fun of getting ready to grow.

Continuing on the clean up I’ve made it to the road side. I am convinced people are mistaken that their car windows are trash receptacles.

What a mess. In the greenhouse some oregano and thyme have gotten their start. I haven’t given up hope for the comfrey from last season, but at the moment it looks bleak.

Now it’s onto mending some clothes to get a few more miles out of them. My good jeans have popped a seam.

I see absolutely no reason to trash them and buy new, like the vast majority of the world would do. 99% of the garment is still in good shape. I have no denim scrap, but I do have old teeshirts that can no longer be worn. A small piece should suffice to plug the hole.

I’ve doubled over the material to make it a bit tougher. It should do ok.

Crude, but without having the hours needed to learn a sewing machine I’d say not too bad.

That’s all for now. Time is short and there are still holes to patch.

Until next time…

HAM fest time day 2

As I sit here working on my coffee and untangling my crooked body from a terrible rest in the truck I get to watch the show unfold before me. Where ever you go the whistles and pops of radio, and voices over the air are prominent. I’m realizing that even after passing the test it’s only the beginning.

The next success of the day is his pack! I’ve now tripled my space, and added support.

After some breakfast I met a fella, he sold me a base station setup to get me started for 20 bucks. I had to promise him I would get my license, which I’m happy to report I did. I am a technician licensed ham.

More soon

Until next time…

A night of firsts. 

I’m currently finding the holes in my sleep system. It’s about fifty degrees. The wool blanket will not cooperate at all and keeps sliding out from underneath me. Every where that I touch the hammock I instantly lose heat. 

The first change I am making is to get a foam mat sized to the hammock so it will stay put. 

That and for some reason (coffee) I have to pee a lot tonight. I’ve now opted to sleep in the truck. 

Some key take-aways from this experiment 

  • Need a pad
  • Need a bigger blanket
  • Need less coffee before bed

Until next time…

HAM fest time day 1

Hey my awesome readers! This weekend I have taken a trip to NEAR fest in Deerfield New Hampshire. My goal? To achieve my technicians license for HAM radio. I’ve come down the night before because there is a second objective. I recently purchased a backpacking hammock and I’ve been itching to try it out. 


I’m also working with the contents of my get home bag to refine the systems. So far so good. I should have set camp earlier though. I’ll also have to add some cheap tent pegs to the kit. 

Currently my rain fly is tied to everything close by and it makes movement a bit hard. But overall improvisation has paid off. 

I’ve given food a bit of a pass on this trip since there are concessions here to partake in. Most importantly though I’ve found a source of coffee in the morning. 

I have not met an unfriendly person here yet, and everyone has been incredibly helpful to this green horn. 

More to follow in the morning. 

Until next time…